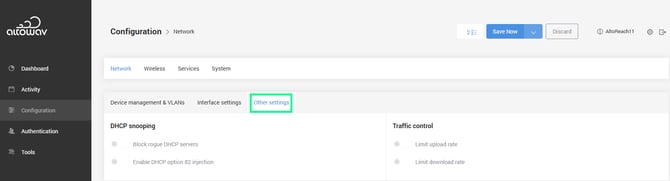
To configure network settings for the AltoReach device:
- Log into the AltoReach device as described in Connect to the AltoReach device.
- In the WebUI, click Configuration.
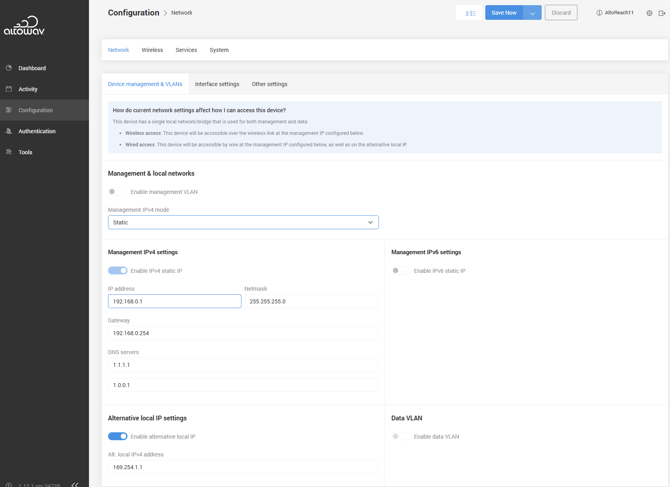
- To use a management VLAN for the device, toggle on Management IPv4 mode. The default is off.
- For Management VLAN ID, type the VLAN ID of the management VLAN . The default is 100.
- For Management IPv4 mode, select either Static or DHCP client.
- If Static is selected:
- Toggle on Enable IPv4 and/or IPv6 static IP.
- Type the IP address.
- Type the Netmask (IPv4) or Prefix (IPv6).
- Type the IP address of the Gateway.
- Type the IP addresses of the primary and secondary DNS servers.
- If DHCP client is selected:
- Type the Fallback IPv4 address. This is the IP address that will be used by the device if it does not receive an IP address from an upstream DHCP server.
- Type the Management IPv4 netmask. This is the subnet mask that will be used by the device if it does not receive a subnet mask from an upstream DHCP server.
- Toggle on DHCP broadcast to request replies from the DHCP server to DHCP broadcast requests.
- Toggle on Custom DNS to enter the domain name servers the device will use. Type the IP addresses of the primary and secondary DNS servers.
- If Static is selected:
- If management VLANs were enabled in step 3:
- in Management VLAN data bridge settings, click to Enable static IP on data bridge.
This will allow you to have access to the Web UI over the data bridge as well as the management VLAN network. This can be helpful during installation, when the installer is not using the management VLAN. Once the installation is complete, this can be turned off.
- Type the Data bridge IPv4 address.
- Type the Data bridge IPv4 netmask.
- in Management VLAN data bridge settings, click to Enable static IP on data bridge.
- For Alternative local IP settings, Click to Enable alternative local IP.
This allows an additional IPv4 alias on the device's local management network (169.254.x.x). When the management VLAN is enabled at the same time as local IP, the local IP address will be set on the non-VLAN bridge, to ensure that the WebUI is locally accessible from a device that is not on the VLAN.
- Type the Alternative local IPv4 address.
- Stations and point-to-point slaves only: In Data VLAN, toggle to Enable data VLAN.
- For Data VLAN ID, type the VLAN ID.
- For Data VLAN Protocol, select the appropriate VLAN protocol.
When this option is enabled:
- Packets from the wireless link that have the specified VLAN ID will have the VLAN tag removed when they are transmitted to the Ethernet port.
- Packets from the Ethernet ports will have the specified VLAN ID added to them when they are transmitted over the wireless link.
- Click Interface Settings.
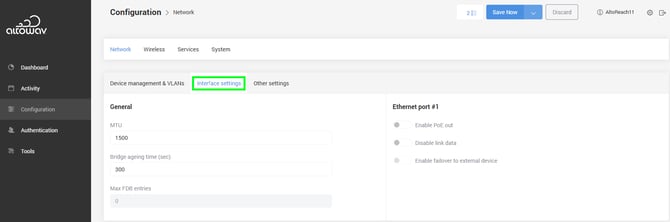
- For MTU, type the maximum transmission unit setting.
- For Bridge ageing time (secs), type the number of seconds that a MAC address will stay in the bridge forwarding table. Set to 0 to disable aging.
- Click Other settings to configure settings for DHCP snooping and Traffic control.